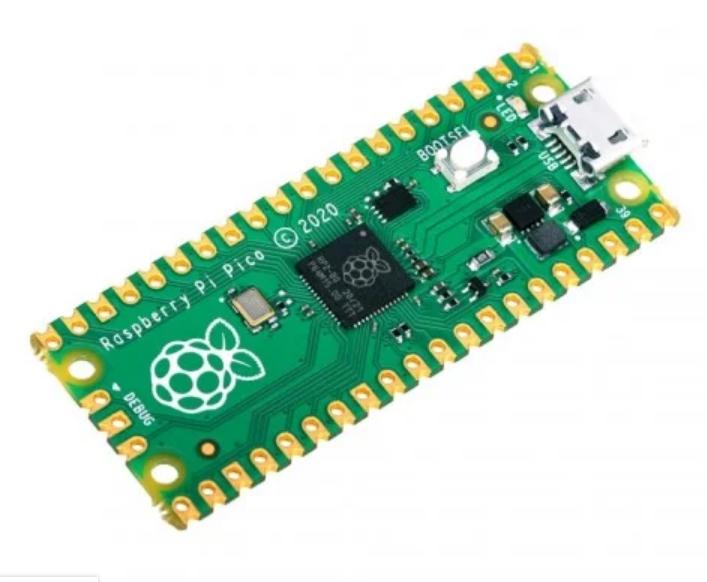
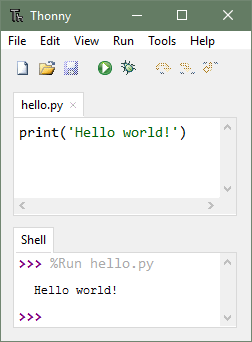
In this post you can learn how to setup the pico to run your first micropython code.
Installation instructions
Flashing the uf2 file
1} Hold down the BOOTSEL button while plugging the board into USB.
2} The uf2 file below should then be copied to the USB mass storage device that appears.
3} Once programming of the new firmware is complete the device will automatically reset and be ready for use.
Firmware
Releases
IDE installation
Installer with 64-bit Python 3.10, requires 64-bit Windows 8.1 / 10 / 11
thonny-4.1.4.exe (21 MB)
Installer with 32-bit Python 3.8, suitable for all Windows versions since 7
thonny-py38-4.1.4.exe (20 MB)
Portable variant with 64-bit Python 3.10
thonny-4.1.4-windows-portable.zip (31 MB)
Portable variant with 32-bit Python 3.8
thonny-py38-4.1.4-windows-portable.zip (29 MB)
Micropython Code
import machine
from time import sleep
BUILT_IN_LED_PIN = 25

# The line below indicates we are configuring this as an output (not input)
led = machine.Pin(BUILT_IN_LED_PIN, machine.Pin.OUT)


# Main loop: Repeat the forever...
while True:
    led.high() # turn on the LED
    sleep(0.5) # leave it on for 1/2 second
    led.low()  # Turn off the LED
    sleep(0.5) # leave it off for 1/2 second
Copy and paste the above code in Thonny IDE and save this inside the Raspberry PI PICO by clicking on save button (ctrl+s), don't forget to name the file as 'main.py'.
After that click Run button (F5) to run the code.
Result
You can see a yellow led blinking on your PICO board.


